Dang it! Why now, when I'm in the middle of chain piecing 40 half-square triangle units?!
Here's your solution:
You no longer have to unthread your machine to rewind a new bobbin (sweet!).
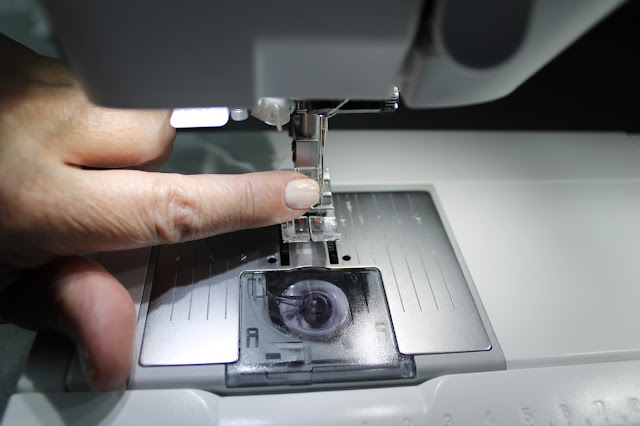
Pull your bobbin out of the bobbin case. Be sure the PFAFF logo remains on top. You'll also see in the background that I have the universal foot on . . . a plastic foot.
The PFAFF manual asks that you use a metal foot when filling an empty bobbin the way I'm about to show you, so I selected the 1/4" foot (any metal foot will do).
Pull the spool thread off to the right side (By the way, I'm using Aurifil 50 wt. 100% cotton thread. It's thin, extraordinarily strong, and amazing!) . . . Oh, and be sure your presser foot and needle are raised.
Maneuvering a camera while performing this task can be challenging, but with your left hand, you'll want to guide the thread so that it doesn't leave the stability of the foot (i.e., slip out the front).
Pull the thread up the left-hand opening of the face of your machine.
Thread it through the first thread guide.
Then, thread it through the second thread guide.
Double-check that the PFAFF logo is facing up and bring the thread through the opening on the top of your bobbin.
Place your bobbin on the bobbin winding shaft. After I do this, I like to roll the piece of thread I brought through the tip of the bobbin with the thread that connects to the spool to give it some security. Keeping the "rolled" threads between my fingers, I push the bobbin shaft to the right.
I like to hang onto the rolled threads as I press the foot pedal.
Hang on until its gone through a few rotations on the bobbin to secure the end.
A quick glance down to the faceplate, and you'll see that the thread is perfectly secure (and still in the eye of the needle!).
The screen also shows that your bobbin is winding perfectly.
In a very short time, your bobbin is wound. The bulkiness of the camera didn't allow me to capture this, but you can use the thread cutter to the left of the bobbin to cut the thread and remove the bobbin by first moving the shaft back to the left, then simply pull the bobbin up and off.
Pull the thread out from the thread guides.
Pull the thread down and out of the face of your machine.
Trim the thread, then pull it off to the back and left.
Insert your bobbin. Pull the thread through the guides and pull the long end of your thread through the trimmer.
Replace your bobbin plate and you're ready to roll.
So now we're on to feature number 2 I'd like to share with you today . . .
"How do I move the needle?" and "Why would I want to move my needle?"
Before we tackle those questions, I wanted to make a comment on the programmed stitch length when you turn your machine on. A glance at the screen and you'll see that its 2.5. Personally, I like to stitch with a 2.0 stitch length.
To change your stitch length, simply use the "-" and "+" buttons on the second row to the right of the screen. In the future, when I begin to teach myself how to free-motion quilt (hopefully, in September . . . hope you'll join me), I'll be using a longer stitch length.
Pressing once will give you a miniscule .3 move to the right.
But it will go up to a 4.5.
Perfect for sewing covered cording into the pillow I was making. I do believe there is a special foot available for this procedure. However, when I'm on a mission, I just want to get it done. :)
As mentioned, depressing the "-" will allow you to move the needle to the farthest left-side of your Universal foot.
See?
Thanks for hanging out with me. Please comment. Let me know if this was helpful or not. I will be continuing my tutorials next week. I hope you're enjoying your summer. Have a great week!


